Introduction:
When it comes to clothing for babies, comfort, and safety are top priorities for parents. However, with increasing environmental concerns, many parents are also seeking sustainable and eco-friendly options for their little ones. Enter bamboo clothing for babies, a versatile and planet-friendly alternative to traditional fabrics. Bamboo fabric offers a range of benefits, from superior softness and breathability to its positive environmental impact. In this comprehensive guide, we will explore the benefits of bamboo clothing for babies, delving into its unique features, eco-friendliness, practicality, and adorable designs. The article is divided into four parts, each containing two levels of content, celebrating the numerous advantages that bamboo clothing brings to the world of baby fashion.
Part 1: Luxurious Softness and Comfort
Level 1: Gentle on Baby’s Delicate Skin
Bamboo clothing offers luxurious softness that is perfect for a baby’s delicate skin. Consider the following aspects:
- Silky Smooth Texture: Bamboo fabric has a silky smooth texture that feels gentle and smooth against a baby’s sensitive skin. Its natural fibers are round and smooth, making bamboo clothing a soothing choice for babies prone to skin sensitivity or irritations.
- Reduced Abrasion and Friction: Compared to many other fabrics, bamboo clothing has a notably low coefficient of friction, meaning it generates less friction against the skin. This reduces the chances of chafing or irritation, keeping your baby’s skin comfortable and healthy.
Level 2: Breathable and Temperature Regulating
Bamboo clothing enhances comfort by providing excellent breathability and temperature regulation for babies. Explore the following ideas:
- Moisture-Wicking Properties: Bamboo fabric has inherent moisture-wicking properties, which means it absorbs and evaporates moisture quickly. This feature helps keep your baby’s skin dry and comfortable, even during hot and humid weather or during physical activity.
- Thermoregulation: Bamboo fabric is known for its natural thermoregulation properties. It keeps your baby cool in warm weather by allowing air to circulate and wicking away sweat, while also providing insulation and warmth in cooler temperatures, helping to regulate body temperature throughout the year.
Part 2: Eco-Friendliness and Sustainability
Level 1: Renewable and Fast-Growing Resource
Bamboo clothing is an eco-friendly choice due to its renewable and fast-growing nature. Consider the following aspects:
- Rapid Growth: Bamboo is one of the fastest-growing plants in the world, with some species growing up to three feet in a single day. This speedy growth rate ensures a sustainable and abundant supply of bamboo without causing significant harm to the environment.
- Low Environmental Impact: Bamboo plantations require minimal water, pesticides, or fertilizers compared to other crops. Bamboo also releases more oxygen into the atmosphere and absorbs more carbon dioxide than other plants, making it an environmentally friendly choice.
Level 2: Biodegradable and Non-Toxic
Bamboo clothing offers biodegradability and non-toxicity, making it a safe and sustainable option. Explore the following ideas:
- Biodegradable: Bamboo clothing is biodegradable, meaning it naturally breaks down over time, returning to the earth without causing harm to the environment. This helps reduce waste and minimizes the environmental impact of baby clothing.
- Non-Toxic Production: The production of bamboo fabric involves minimal chemical treatments, as the fibers are naturally moisture-wicking and antimicrobial. This reduces the use of toxic substances and makes bamboo clothing a safer choice for babies and the planet.
Part 3: Practical Considerations
Level 1: Antibacterial and Hypoallergenic
Bamboo clothing offers practical benefits such as antibacterial properties and hypoallergenic qualities. Consider the following aspects:
- Natural Antibacterial Properties: Bamboo fabric contains a bio-agent called bamboo kun, which has natural antibacterial properties. This helps prevent the growth of bacteria on the fabric, making it an ideal choice for babies’ sensitive skin and reducing the risk of unpleasant odors.
- Hypoallergenic and Allergen-Free: Bamboo fabric is naturally hypoallergenic, making it less likely to cause allergic reactions or irritate sensitive skin. This makes bamboo clothing suitable for babies with allergies or skin conditions such as eczema.
Level 2: Easy Care and Durability
Bamboo clothing is easy to care for and offers durability for long-lasting use. Explore the following ideas:
- Easy Washing and Stain Removal: Bamboo clothing is generally easy to wash and care for. It can be machine-washed on a gentle cycle and easily air-dried or tumble-dried on low heat. Bamboo fabric is also known for its stain-resistant properties, making it easier to remove spills and messes.
- Long-Lasting Performance: Bamboo clothing is known for its durability, even with frequent washing. The natural strength of bamboo fibers ensures that the fabric maintains its shape, softness, and color over time, allowing for extended use and a longer lifespan.

Part 4: Adorable Designs and Style
Level 1: Soft and Stylish Designs
Bamboo clothing offers a wide range of soft and stylish designs for babies. Consider the following aspects:
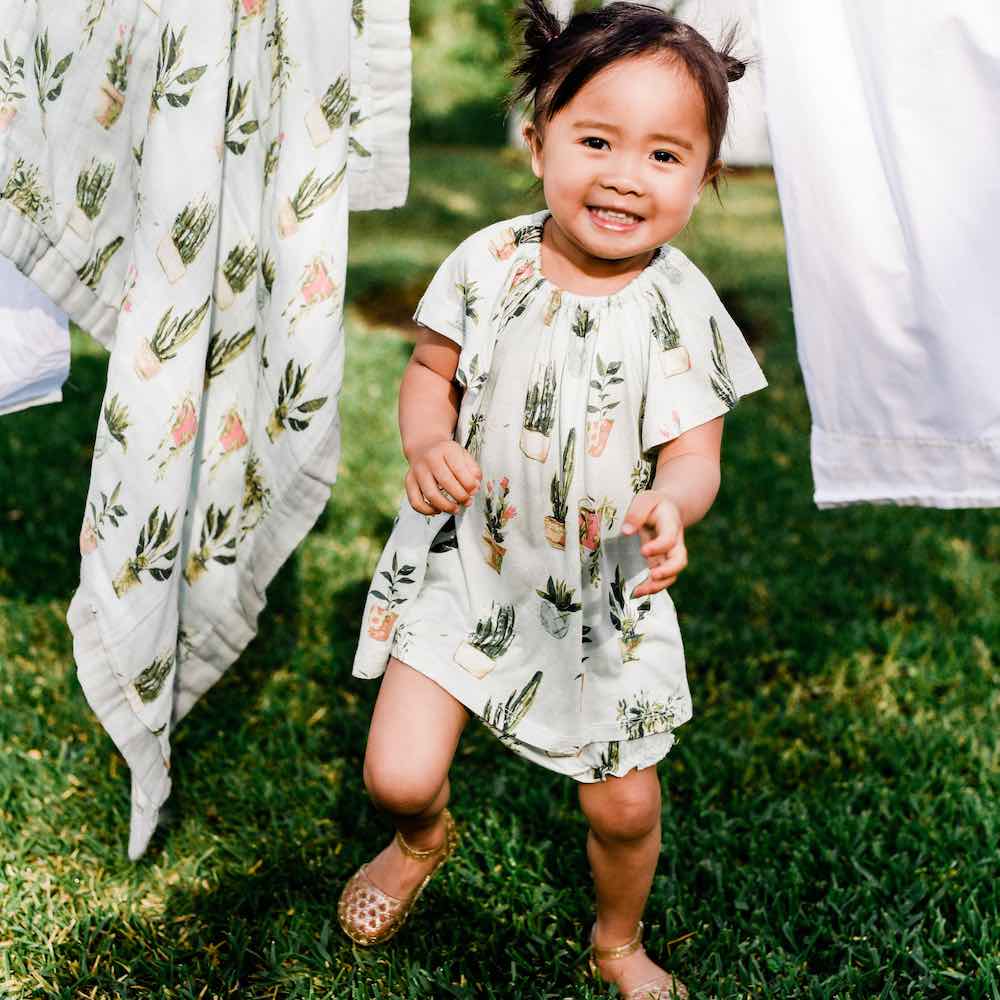
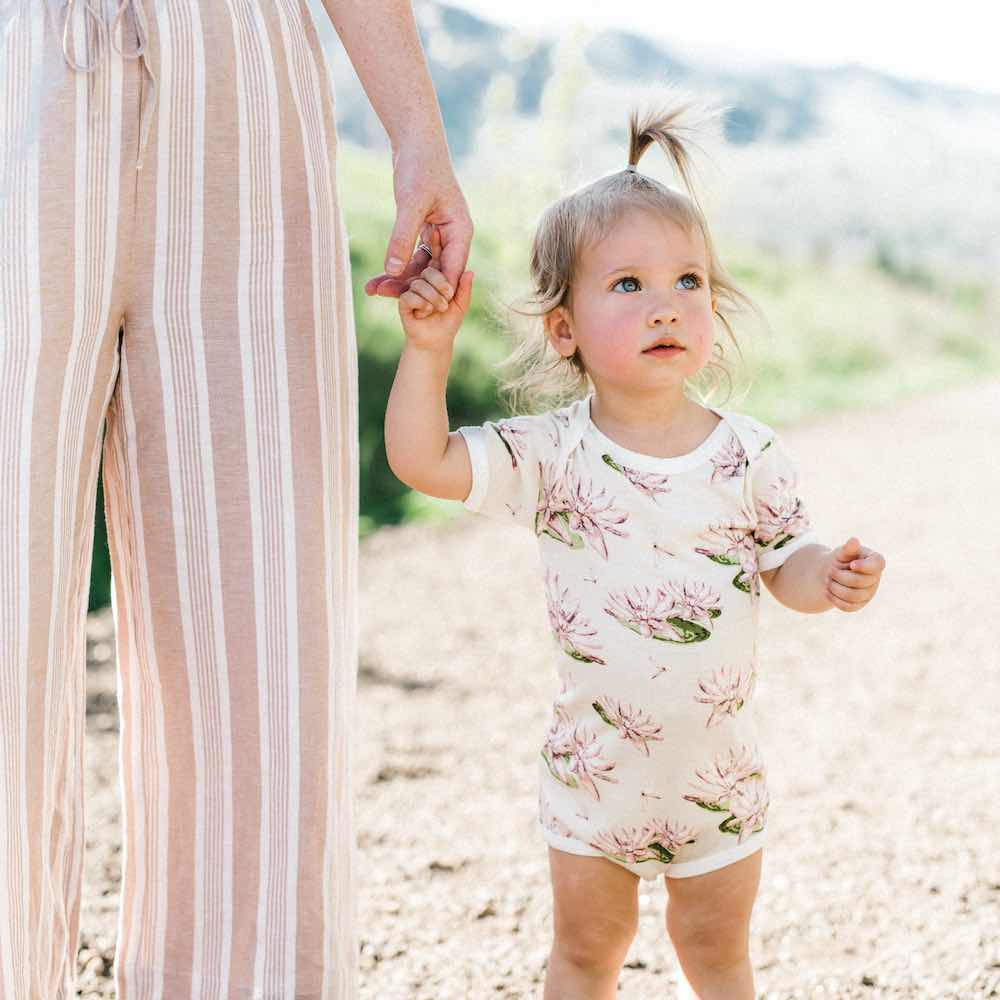
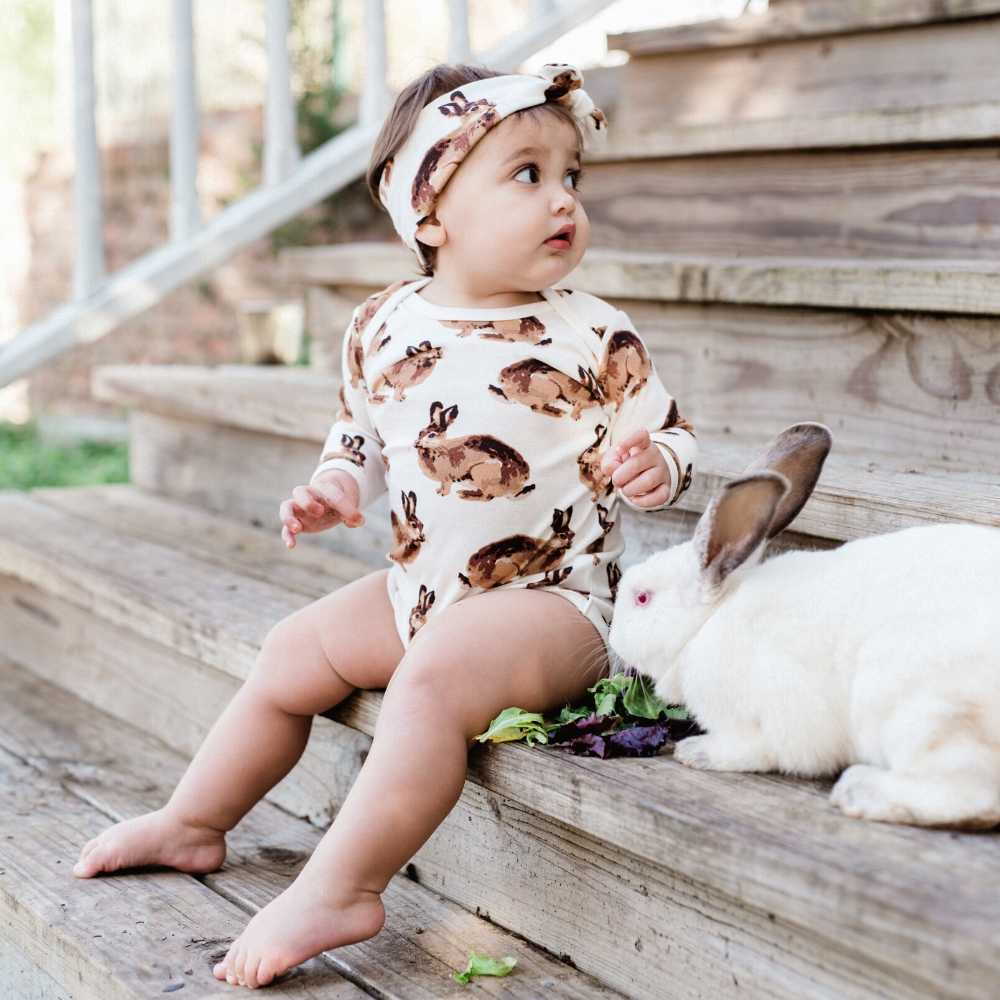
- Soft Colors and Patterns: Bamboo clothing often comes in gentle and soothing colors, perfect for babies. Additionally, bamboo fabric can hold dye colors well, resulting in vibrant and long-lasting patterns or prints that add a touch of style to your baby’s wardrobe.
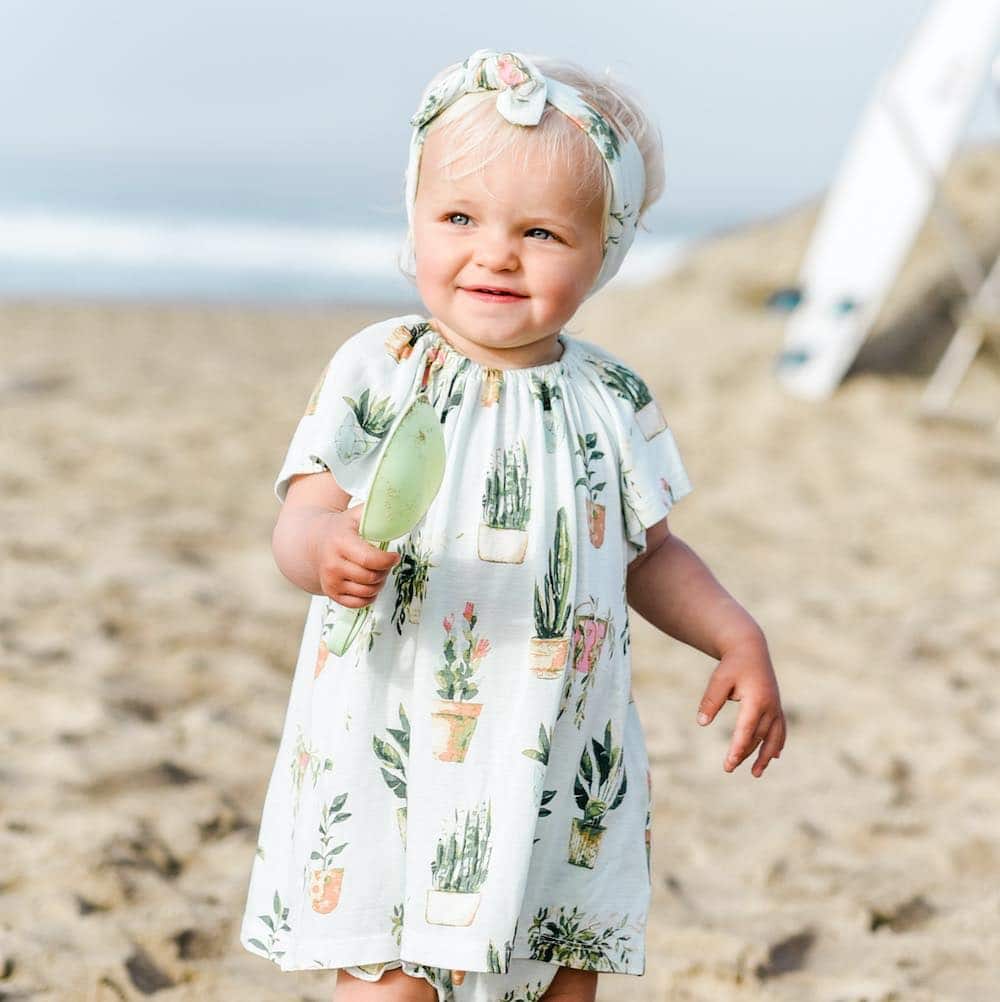
- Versatile Styles: Bamboo clothing comes in a variety of styles suitable for different seasons and occasions. From onesies and rompers to dresses and pajamas, bamboo fabric offers versatility and comfort, allowing your baby to move freely and look adorable.
Level 2: Odor Resistance and Ease of Dressing
Bamboo clothing offers benefits such as odor resistance and ease of dressing for babies. Explore the following ideas:
- Odor Resistance: Bamboo fabric has natural antimicrobial properties that help prevent the growth of bacteria, reducing the likelihood of unpleasant odors caused by sweat or spills. This keeps your baby smelling fresh and clean throughout the day.
- Stretch and Flexibility: Bamboo fabric has excellent stretch and flexibility, making it easier to dress your baby and allowing for comfortable movement. The fabric gently stretches with your baby’s movements, ensuring a snug yet comfortable fit.
 Conclusion:
Choosing bamboo clothing for your baby offers numerous benefits, from superior softness and comfort to eco-friendliness and sustainability. Bamboo fabric provides luxurious softness, breathability, and temperature regulation, ensuring utmost comfort for your baby’s delicate skin. Moreover, bamboo clothing is an eco-friendly choice, as bamboo is a renewable resource with minimal environmental impact. Practical considerations such as antibacterial properties and easy care add to the appeal of bamboo clothing for baby. And, of course, bamboo clothing offers adorable designs and styles that keep your baby looking cute and stylish. Embrace the benefits of bamboo clothing and prioritize your baby’s comfort and the environment by opting for this eco-friendly and adorable choice for baby clothing.