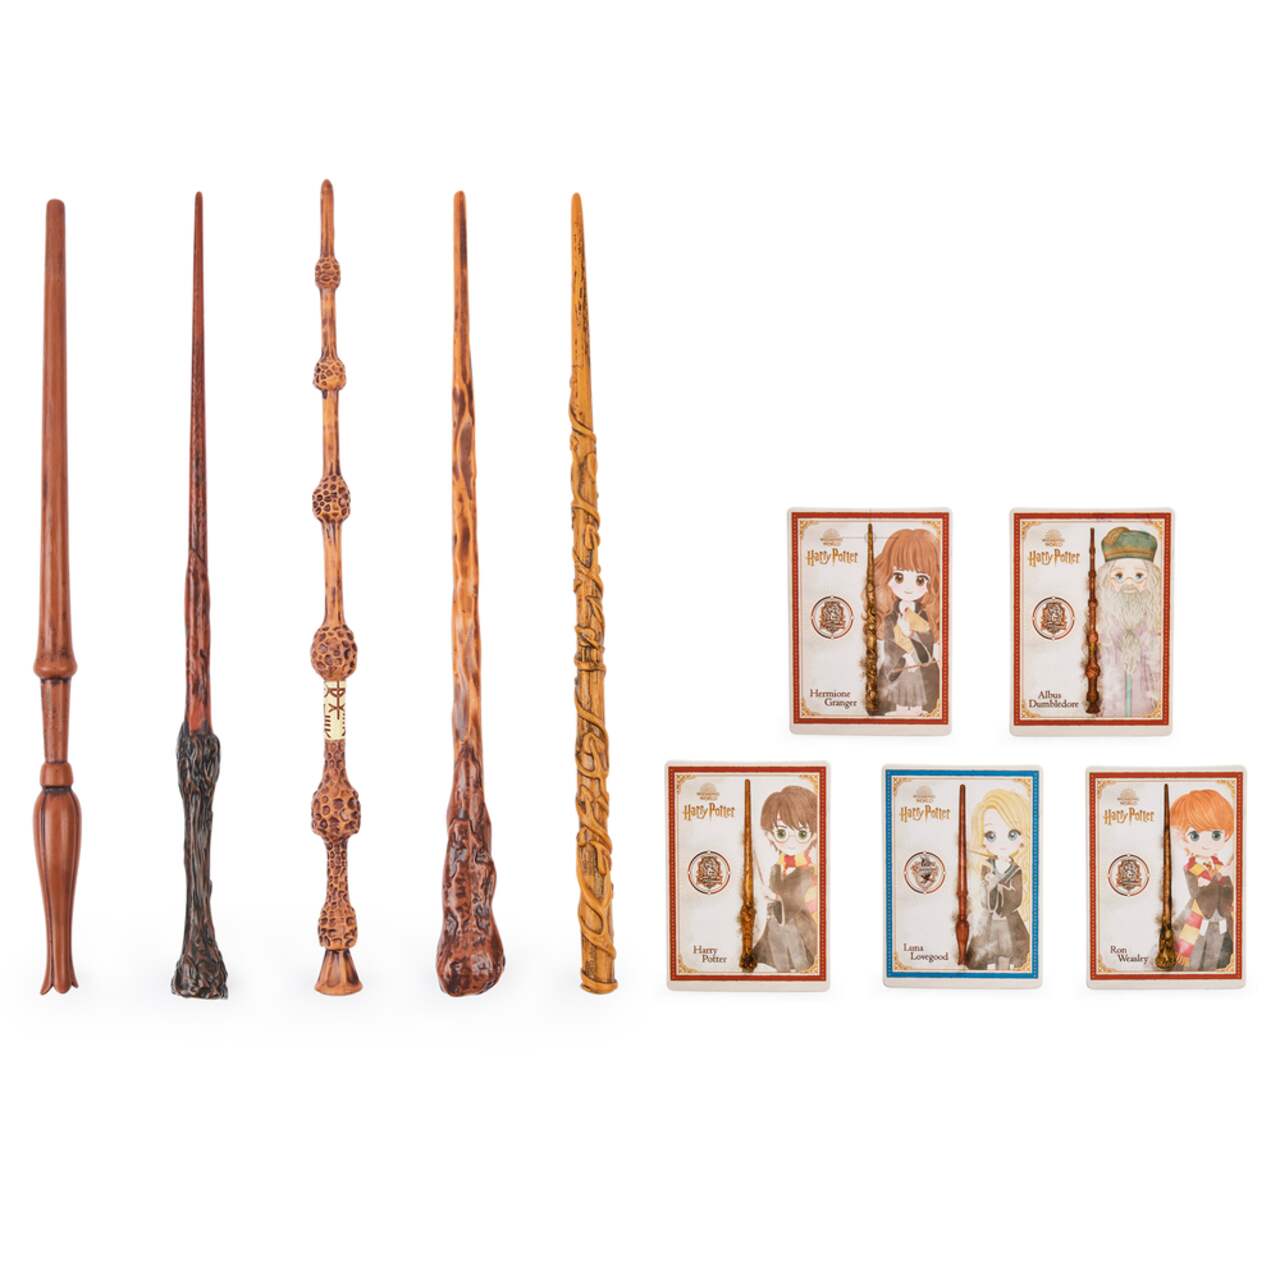
Harry Potter has captivated the hearts and imaginations of millions around the world. From the enchanting world of wizards and witches to the magical artifacts, one item that stands out is the iconic wand. Whether you’re a dedicated Potterhead or simply looking for a fun craft project, making your own Harry Potter wand can be a delightful and rewarding experience. In this article, we’ll guide you through three parts, each offering two levels of content, to help you create a wand that would make Ollivander proud.
Part 1: Getting Started
Level 1: Gathering Materials To embark on your wand-making journey, you’ll need a few basic supplies. Here’s a list of materials to get you started:
- A wooden dowel: Choose a dowel around 12-14 inches in length, preferably made of birch or oak for durability and authenticity.
- Sandpaper: Various grits of sandpaper, such as 120, 220, and 400, will help shape and smooth the wand.
- Craft knife or chisel: Essential for carving intricate details on the wand.
- Wood stain or paint: Select a color that reflects your wand’s character and aesthetic.
- Clear varnish: To protect and enhance the appearance of your finished wand.
- Optional: Decorative elements like beads, gemstones, or feathers for personalization.
Level 2: Preparing the Wand
- Sanding: Begin by using the coarsest grit of sandpaper (120) to remove any rough edges or imperfections from the dowel. Gradually progress to finer grits (220 and 400) to achieve a smooth finish.
- Shaping: Use the craft knife or chisel to create unique patterns, grooves, or designs on the wand. Look for inspiration from the distinctive wands in the Harry Potter series.
- Handle and Tip: Pay attention to the wand’s handle and tip. Carve details that highlight the wand’s character, such as spirals, feathers, or animal-like features.
- Sanding (Again): After carving, sand the entire wand once more to ensure all surfaces are smooth and any rough edges are eliminated.
- Optional: If desired, add decorative elements to the wand’s handle or tip to add a personal touch.
Part 2: Adding Magic
Level 1: Painting and Staining
- Base Coat: Apply a base coat of paint or stain to the entire wand, covering the surface evenly. This will provide a foundation for further detailing.
- Details: Once the base coat is dry, use a smaller brush to add intricate details, such as unique patterns or colors, to further personalize your wand. Refer to your favorite characters’ wands for inspiration.
- Weathering Effect: To give your wand an ancient or weathered look, lightly sand some areas with fine-grit sandpaper. Aim for specific places like the handle, where natural wear and tear occur.
- Tip Highlight: For an added touch, use a metallic paint or gold leafing to emphasize the wand’s tip and make it stand out.
Level 2: Varnishing and Finishing
- Protective Coat: Once the paint and detailing are dry, apply a clear varnish to protect the wand and give it a glossy finish. This will also enhance the colors and details.
- Multiple Coats: Apply two to three thin coats of varnish, allowing each layer to dry completely before proceeding. Lightly sand between coats for an ultra-smooth finish.
- Polishing: Once the final coat is dry, use a soft cloth to gently polish the wand, removing any dust or imperfections that may have settled on the surface.
- Optional: If desired, wrap the handle with leather, fabric, or twine to provide a comfortable grip and add an extra layer of authenticity.
Part 3: Unleashing the Magic
Level 1: Bonding with Your Wand
- Personal Connection: Spend time getting to know your wand. Hold it, feel its weight in your hand, and let your creativity flow. The bond between a wizard and their wand is a unique and personal experience.
- Practice and Experiment: Use your wand to cast spells, perform tricks, or simply let your imagination soar. Practice different movements and incantations to find your own magical style.
Level 2: Sharing the Magic
- Show and Tell: Share your wand creation with fellow Harry Potter enthusiasts, friends, or family. Display it proudly on a shelf or use it during costume parties or themed events.
- Inspire Others: Document and share your wand-making journey on social media or start a blog. Encourage others to embark on their own wand-making adventure or explore other Harry Potter crafts.
Conclusion:
How to Make A Harry Potter Wand? Creating your very own Harry Potter wand is a magical experience that allows you to immerse yourself in the enchanting world of wizardry. By following the steps outlined in this article, you’ll be able to craft a wand that reflects your own unique style and imagination. From the selection of materials to adding the finishing touches, the process of making a wand is an art in itself. So, grab your tools, let your creativity flow, and get ready to unleash the magic that lies within your newly crafted Harry Potter wand.