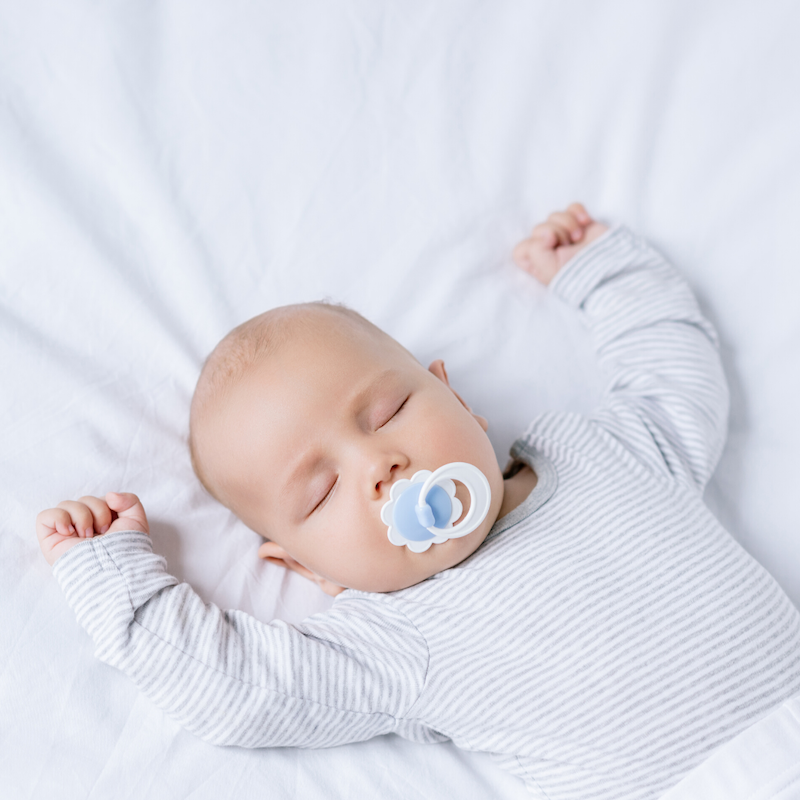
The Importance of Replacing Pacifiers Regularly
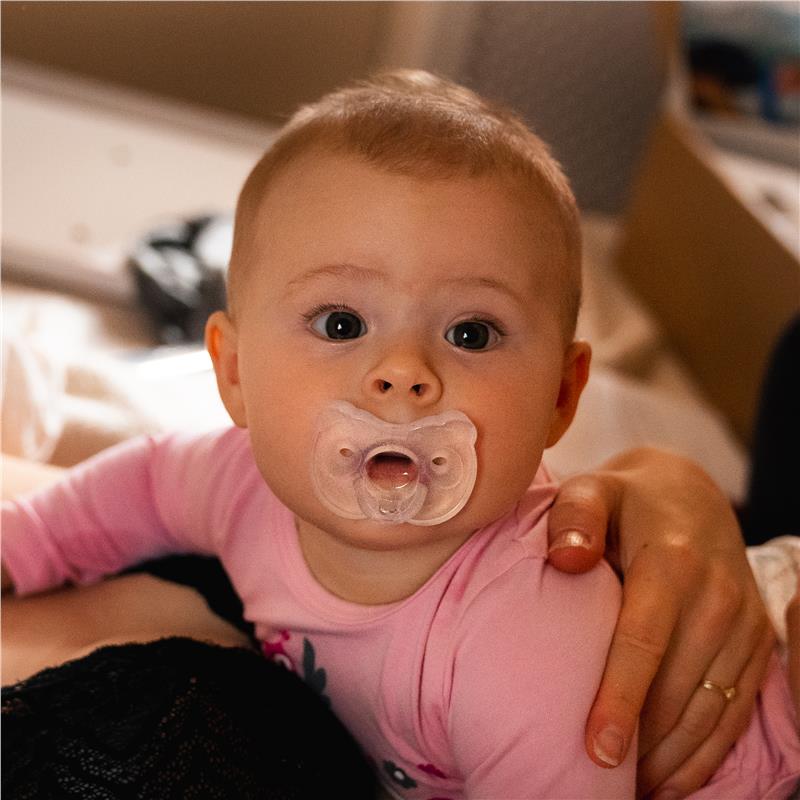
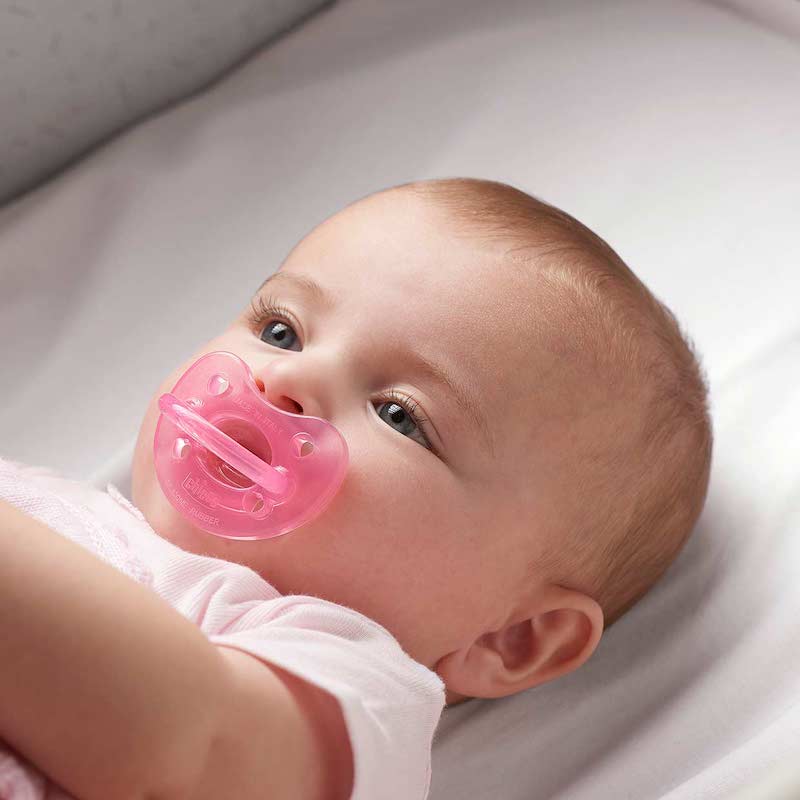
Replacing pacifiers regularly is crucial for a baby’s health and safety. Babies love their pacifiers. They can be magic for calming and soothing. But used pacifiers can turn harmful if not replaced at the right times. How often should you replace pacifiers? Experts have clear answers. It is not just a matter of preference, but of care.
Firstly, worn-out pacifiers pose choking hazards. Little ones can chew through them. This can lead to small parts breaking off. New pacifiers help avoid this risk. They ensure that your baby stays safe during use.
Secondly, it’s about hygiene. Old pacifiers gather more germs over time. Even with regular cleaning, bacteria and mold can build up. This can cause infections and affect your baby’s health.
Lastly, frequent replacement keeps up with your baby’s development. As your baby grows, so do their sucking strength and mouth structure. This means changing out pacifiers to match their needs. This ensures comfort and proper oral development.
In brief, regular pacifier replacement is key. It helps prevent safety risks, maintain hygiene, and support healthy growth. Parents should keep this in mind for their peace of mind and their baby’s well-being.

Signs That Indicate It?s Time for a New Pacifier
Knowing when to replace a pacifier is critical for your baby’s safety and health. Here are several signs that indicate it’s time for a new pacifier:
- Wear and Tear: Check for any tears or holes. Even tiny damage can be a choking hazard.
- Weak Suction: If the pacifier no longer maintains its shape when sucked, it’s time to replace.
- Discoloration: Any unusual color changes could signal mold or bacterial growth.
- Loose Parts: Inspect if any part of the pacifier has become loose or is coming apart.
- Sticky Texture: Feel for a tacky or sticky texture, as this can be a sign of material breakdown.
- Changes in Shape: Over time, a pacifier may warp or change shape, which can affect oral development.
Regular assessments help maintain your baby’s health. Always check pacifiers for these signs and replace them promptly to ensure they remain safe and hygienic for your little one.
Recommended Replacement Schedule for Pacifiers
How often should you replace pacifiers? Here is a simple schedule to follow:
- For Newborns and Infants (0-6 months): Replace pacifiers every two months. Their immune systems are still developing, making them more vulnerable to germs.
- For Babies (6 months to 1 year): Replace pacifiers every one to two months. As babies grow, they may chew on pacifiers more, leading to faster wear and tear.
- For Toddlers (1 year and older): Replace pacifiers every one to three months, depending on usage. Toddlers have stronger jaws and can damage a pacifier more quickly.
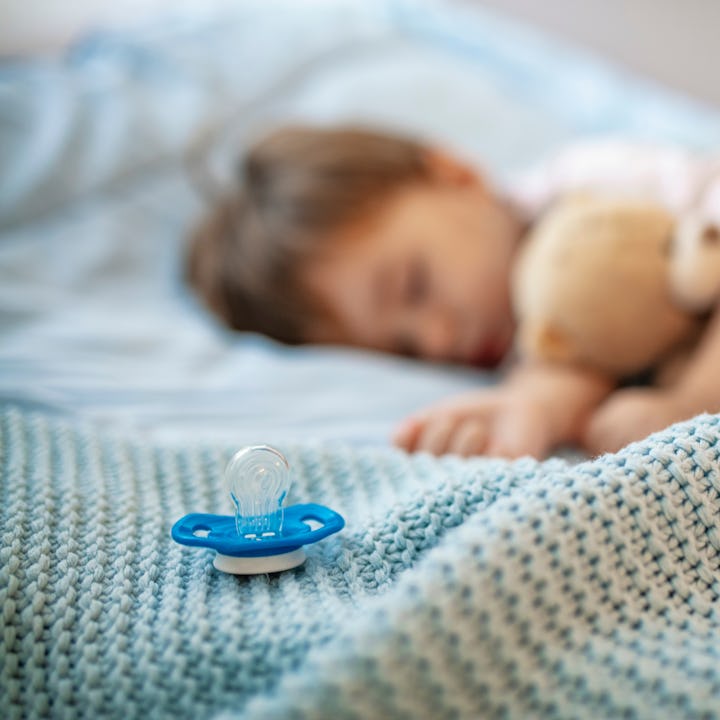
It’s important to stick to this schedule. A regular replacement plan helps protect your baby from potential risks. Remember, if you spot any signs of damage or wear before the next scheduled replacement, change the pacifier immediately. Keeping a few spare pacifiers can ensure you always have a safe one at hand.
Tips for Inspecting Pacifiers for Wear and Tear
Conducting regular checks on pacifiers is essential. Here are some simple tips to inspect them for signs of wear and tear:
- Look Closely: Hold the pacifier up to the light. Look for any cracks or tears, especially where the silicone meets the plastic.
- Test Strength: Gently pull on each part of the pacifier. Make sure nothing is loose or about to break off.
- Feel the Texture: Run your fingers over the pacifier. It should feel smooth. Any stickiness or rough patches suggest deterioration.
- Squeeze the Bulb: The bulb should be flexible but firm. If it’s overly squishy or too hard, it may be time for a new one.
- Check the Fit: Make sure the shield fits snugly against the mouthpiece. Gaps can trap saliva and lead to bacteria growth.
Applying these tips can help ensure that the pacifiers you use are safe for your baby at all times. Replace them immediately if you find any signs of wear and tear. By inspecting regularly and knowing how often should you replace pacifiers, you can keep your little one safe and healthy.
Understanding the Risks of Overused Pacifiers
Using a pacifier for too long brings its own dangers. An overused pacifier is not just unsightly. It can pose serious risks to your baby’s health. Here are key hazards linked to old pacifiers:
- Choking Hazards: Over time, pacifiers can break down. Parts can come loose and cause choking. That is a clear and present danger for any baby.
- Infections: A worn pacifier is a hotbed for germs. It can carry bacteria and fungi. These can lead to mouth infections or stomach problems.
- Dental Issues: Old pacifiers can affect how teeth line up. They can also change the roof of the mouth. Such changes might need treatment later on.
- Dependency Issues: Extended use of one pacifier can lead to an emotional bond. This makes it harder to break the habit as the child grows.
Always remember that pacifier safety is non-negotiable. Replace pacifiers as often as needed to avoid these risks. You will keep your baby healthier and happier this way.
Pacifier Care and Cleaning Best Practices
Caring for and cleaning pacifiers is as crucial as replacing them. For your baby’s health, follow these best practices:
- Rinse After Use: Immediately rinse the pacifier under warm water. Remove any debris.
- Soapy Wash: Clean daily with mild soap and warm water. Rinse thoroughly to avoid residue.
- Sanitize Often: Boil pacifiers or use a steam sanitizer for deep cleaning. Do this weekly.
- Dry Completely: After cleaning, let the pacifier air-dry. Moisture can breed germs.
- Separate Storage: Keep pacifiers in a clean, dry container. Prevent contact with dirty items.
- No ‘Cleaning’ by Mouth: Don’t put the pacifier in your mouth. It can transfer your germs to the baby.
- Avoid Dishwashers: Dishwashers may damage pacifiers. It’s better to wash by hand.
- Check for Water: Squeeze out water from pacifier nipples after sanitizing. Trapped water can harbor bacteria.
Implementing these care and cleaning practices will help keep your baby’s pacifiers safe and hygienic. Remember, no matter how clean a pacifier is, if it shows signs of wear and tear, it’s time for a new one.
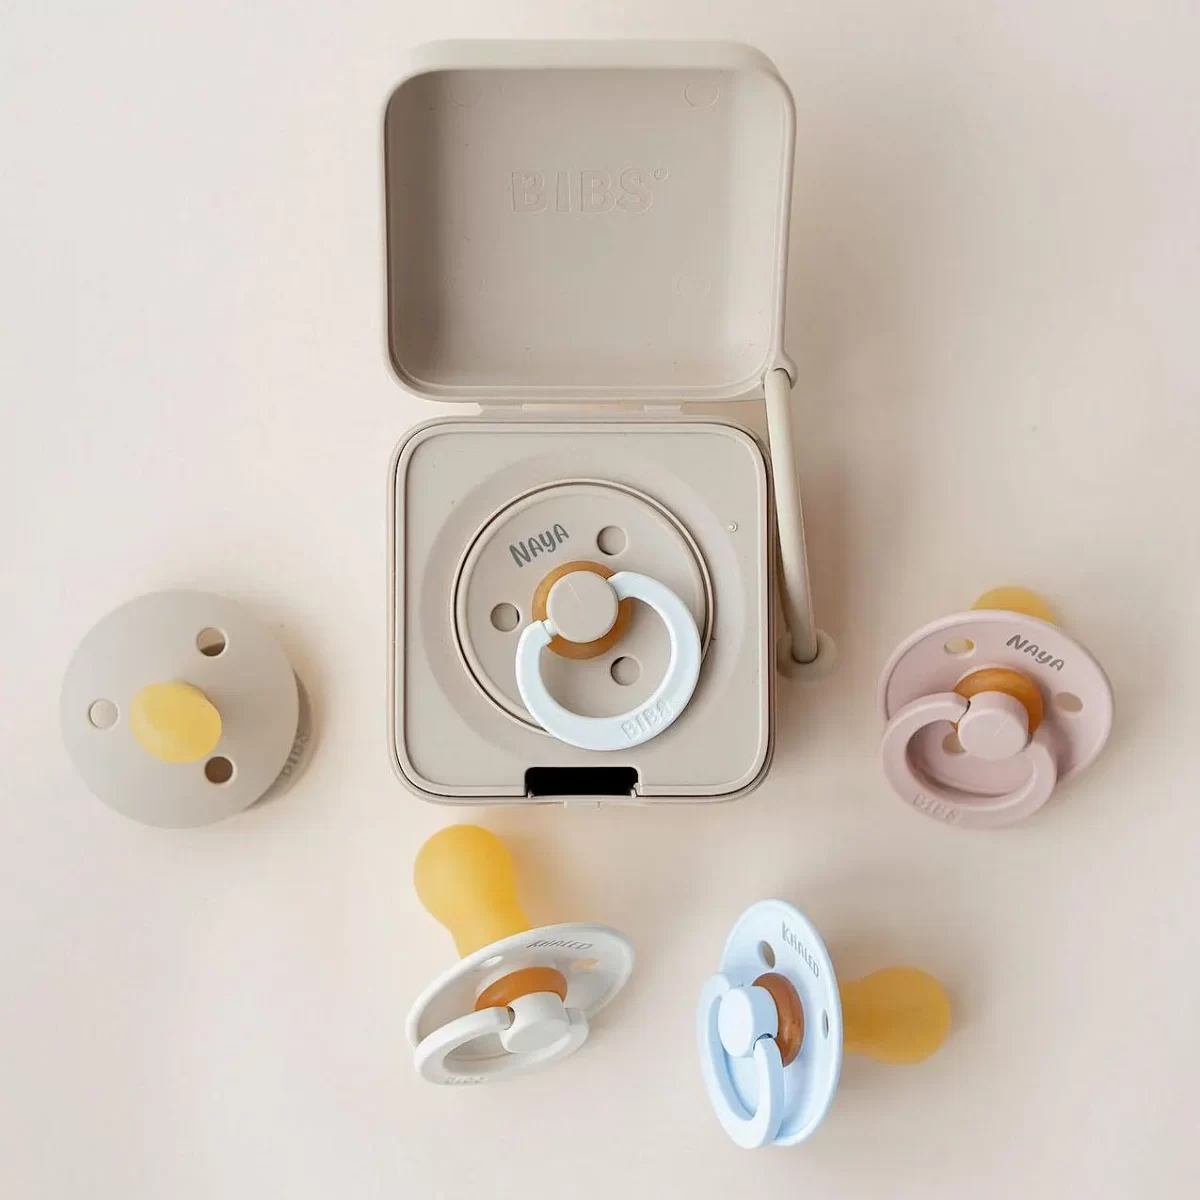
The Role of Pacifier Durability and Material Choice
Choosing the right pacifier is about more than comfort and fit. The durability and material of a pacifier play a significant role in how often it should be replaced. Pacifiers made from high-quality materials may last longer, but no pacifier is immune to wear and tear. Here’s how material choice influences durability:
- Silicone Pacifiers: Silicone is smooth, flexible, and resists bacteria. It’s also strong, making it less prone to tears and punctures. However, it can still degrade with time and use.
- Latex Pacifiers: Latex is softer and more flexible than silicone, but it can wear out quicker. It can also cause allergic reactions in some babies.
- Rubber Pacifiers: Natural rubber is eco-friendly and durable, but it requires more frequent checking. It can degrade with exposure to heat and light.
- Plastic Components: The hard plastic parts must be sturdy. They should not crack or break easily, as this can be a choking hazard.
When considering how often should you replace pacifiers, opt for high-quality, durable options. They can withstand your baby’s growing teeth and active mouth. Even with top materials, stick to the recommended replacement schedule. This ensures the pacifier remains safe and functional for your baby. If you notice any damage or changes in texture, swap the pacifier for a new one, regardless of the material.
What to Do with Old Pacifiers: Disposal and Recycling Options
When it’s time to replace a pacifier, disposing of the old one properly is essential. Here are some options to consider:
- Trash It Responsibly: If a pacifier is heavily worn, it’s best to throw it away. Wrap it to avoid becoming a hazard in the garbage.
- Recycle When Possible: Some pacifier parts are recyclable. Check with local facilities on how to recycle plastic components.
- Repurpose Creatively: With clean and safe pacifiers, consider repurposing. They can become bathtub toys or part of a craft project.
- Donate for Training: Some health organizations accept used pacifiers for educational purposes. Check if there’s a need in your community.
- Check for Take-Back Programs: Certain brands may offer take-back programs. They recycle or dispose of pacifiers safely.
Always consider safety and hygiene when deciding what to do with old pacifiers. Never pass them on to other children for use. Making thoughtful choices helps reduce waste and keeps environments safe.