The Importance of Selecting the Right Pacifier
Choosing the right pacifier for your baby is critical. It goes beyond just calming your little one. The right pacifier must support your baby’s oral health. This is where orthodontist approved pacifiers come into play.
When parents pick a pacifier, they should think about long-term dental development. An orthodontic pacifier is designed to prevent dental issues. Wrong pacifiers can cause problems like teeth misalignment and bite issues.
Orthodontist approved pacifiers mimic breastfeeding. They promote natural development of the mouth and jaws. Such pacifiers help maintain the right positioning of the tongue. They reduce the risk of problems in the future.
Parents have many choices, but not all pacifiers are the same. Orthodontic options can bring peace of mind. They ensure a pacifier is safe for your baby’s oral health. It’s worth spending time to find an orthodontist approved pacifier.
A good start can prevent many dental visits later on. Start with an orthodontist recommended choice. It’s a smart step for your baby’s health. Always look for these words when choosing a pacifier: safe, healthy, and orthodontist approved.

What Makes a Pacifier Orthodontist-Approved?
Orthodontist approved pacifiers are special. They are designed with your baby’s dental health in mind. Such pacifiers encourage proper jaw growth. They also promote natural tongue positioning. This helps in avoiding future dental problems.
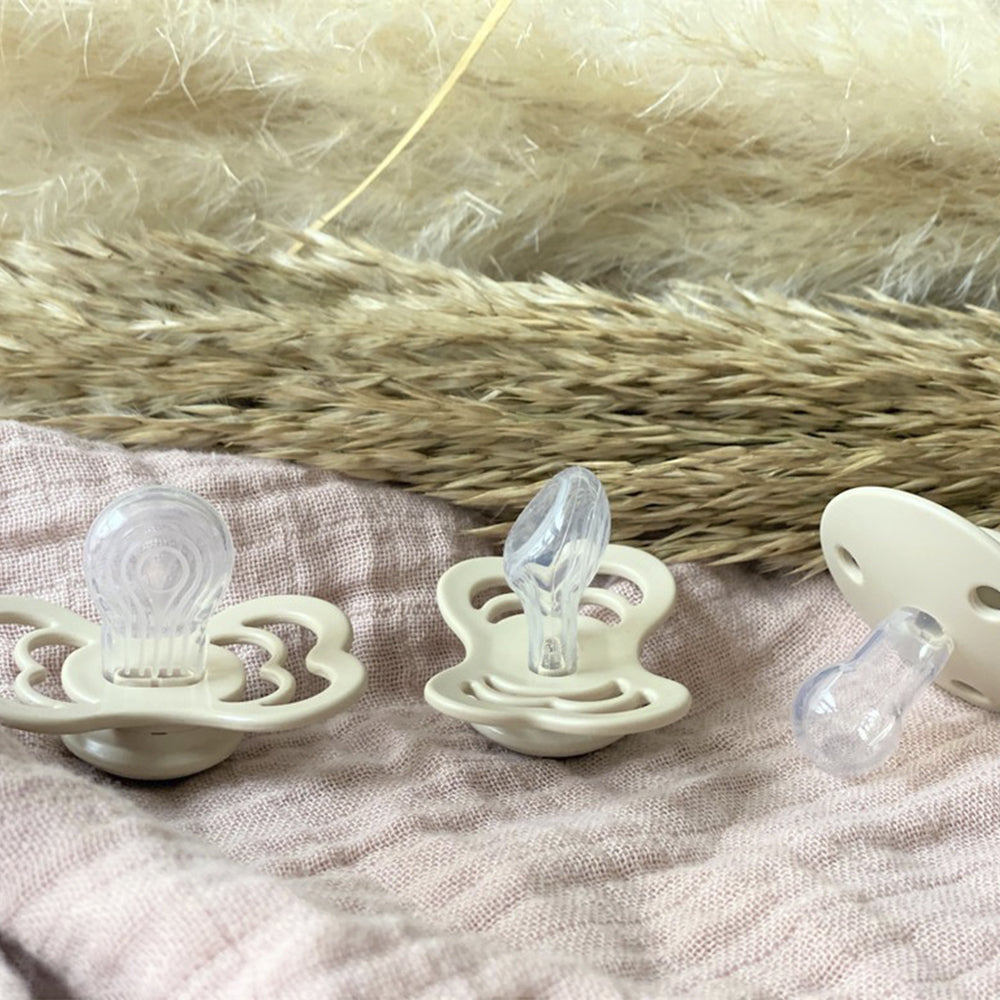
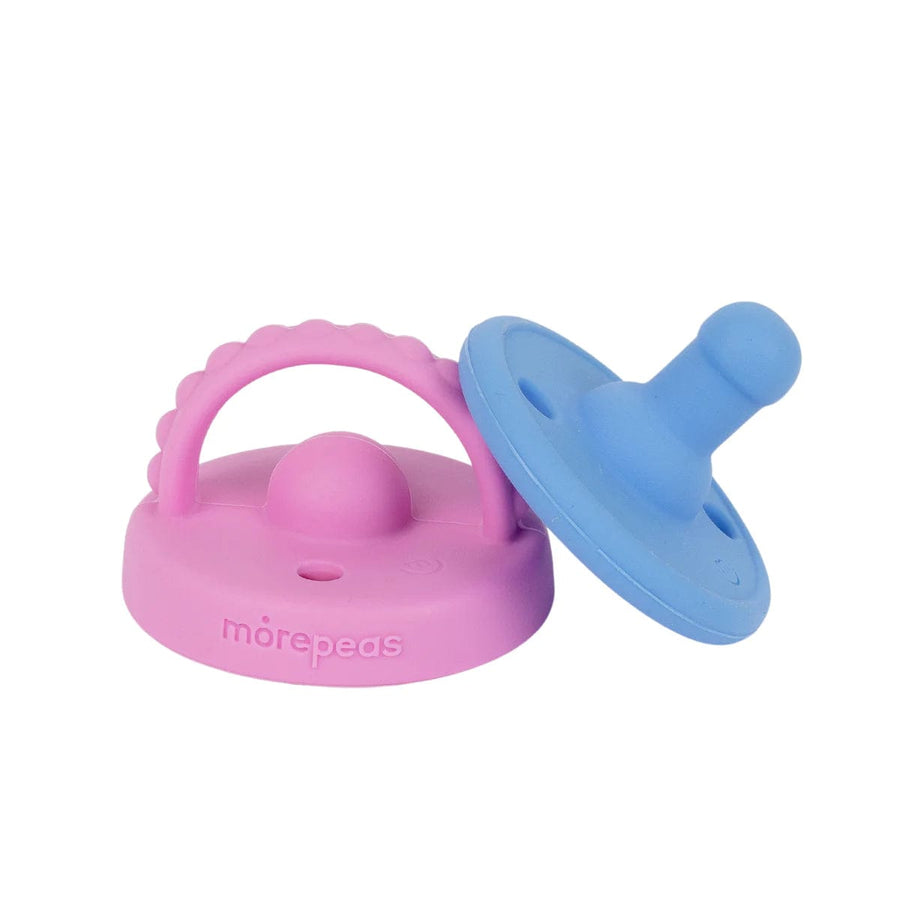
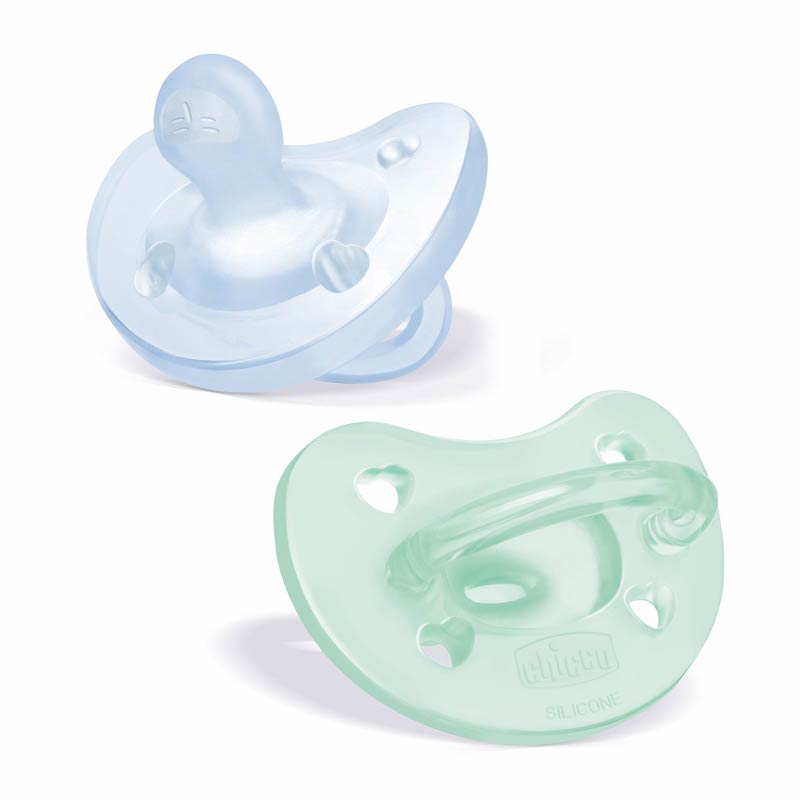
Orthodontists check for certain features in pacifiers. They look for a shape that copies natural breastfeeding. This is crucial for a baby’s oral development. Orthodontic pacifiers often have a flattened bottom and a rounded top. This design helps maintain the natural shape of the baby’s palate and gums.
Another important aspect is the material. Orthodontists prefer pacifiers made from safe, non-toxic materials. These materials should be durable and soft. They do not irritate the baby’s sensitive gums or mouth.
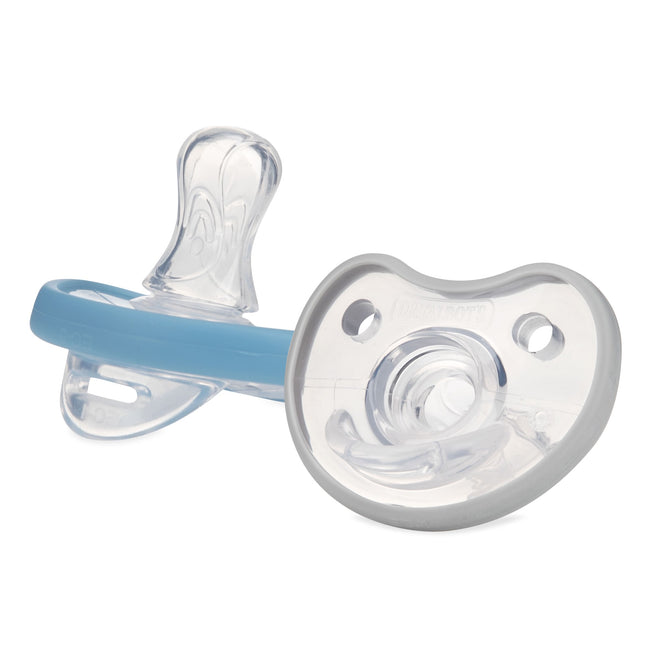
No gaps between the nipple and the shield are another sign of a good design. This prevents saliva from getting trapped. It curbs the risk of skin irritation and allergies.
Some orthodontic pacifiers come with air vents. These vents prevent moisture buildup. They thus protect against skin irritation around the mouth. An orthodontist’s approval means the pacifier also supports easy breathing.
An orthodontist-approved pacifier does more than calm a fussy baby. It supports healthy oral development. This can mean fewer dental problems as your child grows. Keep these points in mind when choosing a pacifier for your little one.
Key Features to Look for in Orthodontic Pacifiers
When hunting for orthodontist approved pacifiers, keep an eye out for critical features. Pacifiers vary, but the orthodontic type has unique traits. Here’s what to look for:
Shape That Mimics Breastfeeding
A natural breastfeeding shape is a must. Seek out a pacifier with a curved top and flat bottom. It ensures a good fit in your baby’s mouth. This shape supports natural sucking and helps with jaw development.
Non-toxic, Safe Materials
Safety comes first. Make sure the pacifier is BPA-free and made of non-toxic materials. It should feel soft against your baby’s gums but also stand up to wear and tear.
Proper Ventilation
Choose a pacifier with air vents. Good ventilation stops moisture from building up. This keeps your baby’s skin dry and irritation-free.
No Gaps Between Nipple and Shield
A tight fit between the nipple and shield is essential. It blocks saliva from trapping. This design feature helps avoid allergies and skin issues.
Support for Natural Tongue Position
Good orthodontic pacifiers encourage correct tongue placement. This is crucial for correct oral development. It helps prevent dental problems down the line.
Easy to Clean Design
Hygiene is key. Look for pacifiers you can clean easily. This helps prevent bacteria build-up and ensures your baby’s mouth stays healthy.
Being mindful of these features will guide you towards the best choice for your baby. Go for quality, safety, and design that supports oral health. Remember, the right orthodontic pacifier can make all the difference.
The Impact of Pacifiers on Dental Development
The use of pacifiers can significantly impact a baby’s dental development. A well-chosen orthodontic pacifier aids in promoting the natural growth of the jaw and teeth alignment. However, a poorly designed pacifier can lead to dental malformations over time.
These malformations may include issues like overbite, crossbite, or teeth crowding. An overbite is when the top teeth jut forward more than the bottom teeth. A crossbite occurs when a baby’s teeth close together and some of the top teeth sit inside the lower teeth. Teeth crowding can result when there isn’t enough space for teeth to grow naturally due to a distorted jaw shape.
Orthodontist approved pacifiers are designed to minimize such risks. They support the proper development of the mouth structure. This includes maintaining the correct tongue position and reducing the pressure on the gums and developing teeth.
Continuous use of non-orthodontic pacifiers may interfere with natural sucking patterns. It’s vital for babies, as sucking contributes to healthy oral movements and muscle development.
Choosing an orthodontic pacifier can safeguard your baby’s dental health. It ensures that while they find comfort in their pacifier, their teeth and jaws can form correctly. This means potentially reduced need for orthodontic treatments in the future.
To maintain your baby’s oral health, consider the pacifier’s impact on dental development. Always opt for orthodontist approved pacifiers for peace of mind and a healthier start for your baby’s smile.
Top Orthodontist-Approved Pacifiers on the Market
When searching for the best for your baby, several top orthodontist approved pacifiers stand out. They boast features that cater to your baby’s oral health and comfort. This list includes some of the most recommended options on the market:
- The Natural Suck Pacifier: Designed to mimic the natural sucking motion, this pacifier promotes proper jaw alignment.
- Pure Dental Pacifier: Made from 100% non-toxic materials, it’s gentle on gums and perfect for teething babies.
- Breathe Easy Pacifier: The ventilated design ensures that air flows freely, reducing skin irritation around your baby’s mouth.
- Gentle Touch Pacifier: With no gaps between the nipple and shield, it prevents saliva build-up and lowers allergy risks.
- Tongue Position Pacifier: This option encourages the baby to maintain a natural tongue position, vital for oral development.
- Easy Clean Pacifier: It features a design that’s simple to sterilize, keeping your baby’s pacifier hygienic and safe to use.
Each of these products comes highly recommended by orthodontists for their quality and safety features. As you decide, remember to weigh the benefits against your baby’s specific needs and comfort preferences. Always check for features like a proper fit, safe materials, and a design that supports oral health.
Choosing the right pacifier from these top options means looking out for your baby’s long-term dental well-being. Trust orthodontist approved pacifiers for a safe, comforting experience for your little one.
Age-Specific Considerations for Orthodontic Pacifiers
When picking orthodontist approved pacifiers, consider your baby’s age. As infants grow, their oral needs change. Here’s what to look out for at different stages:
Newborns to 6 Months
At this stage, look for a smaller, lightweight pacifier. It should fit easily in a tiny mouth. This prevents the baby from getting tired or having difficulty sucking.
6 to 18 Months
As babies’ mouths grow, they need a slightly larger pacifier. This helps in supporting the rapid dental development occurring during this time.
18 Months and Up
Toddlers may need a more durable pacifier. They’re likely to chew on it due to teething. Therefore, a stronger material that can handle biting is key.
Always check the recommended age range when shopping for pacifiers. Each age-specific pacifier supports the right dental growth for that stage. Remember, as your baby grows, keep updating the pacifier to match their developmental needs. This ensures the continued protection of your baby’s oral health.
Tips for Introducing an Orthodontic Pacifier to Your Baby
Introducing an orthodontist approved pacifier requires patience and technique. Follow these steps for a smooth transition:
Start Early
Begin offering a pacifier between 2 to 4 weeks old. It’s easiest to introduce when feeding patterns settle.
Choose the Right Time
Try when your baby is calm but not too hungry or full. This makes acceptance likely.
Let Your Baby Lead
Hold the pacifier near your baby’s mouth and wait. Let them take it in by themselves. Force never helps.
Offer Often
Offer the pacifier regularly but don’t force it. Frequent tries help babies get used to it.
Soothe and Comfort
Use the pacifier to soothe your baby. It’s a tool for comfort, not a silencer.
Monitor Usage
Watch overuse. Limit pacifier time to avoid affecting breast or bottle feeding.
Establish a Connection
Let your baby associate the pacifier with feeling secure and loved. Comfort them with cuddles when offering it.
Keep It Clean
Always clean the pacifier before handing it over. This prevents germ spread.
These tips prioritize safety and ease. They help ensure your baby takes to their new pacifier well. Remember, stick with orthodontist approved options for the best start.
Proper Care and Maintenance of Orthodontic Pacifiers
Proper care is key for your baby’s pacifiers. They must stay clean and safe for everyday use. Here’s how to maintain orthodontist approved pacifiers:
Regular Cleaning
Clean pacifiers daily to remove germs and dirt. Use hot water and mild soap. Rinse them well to ensure no soap residue remains.
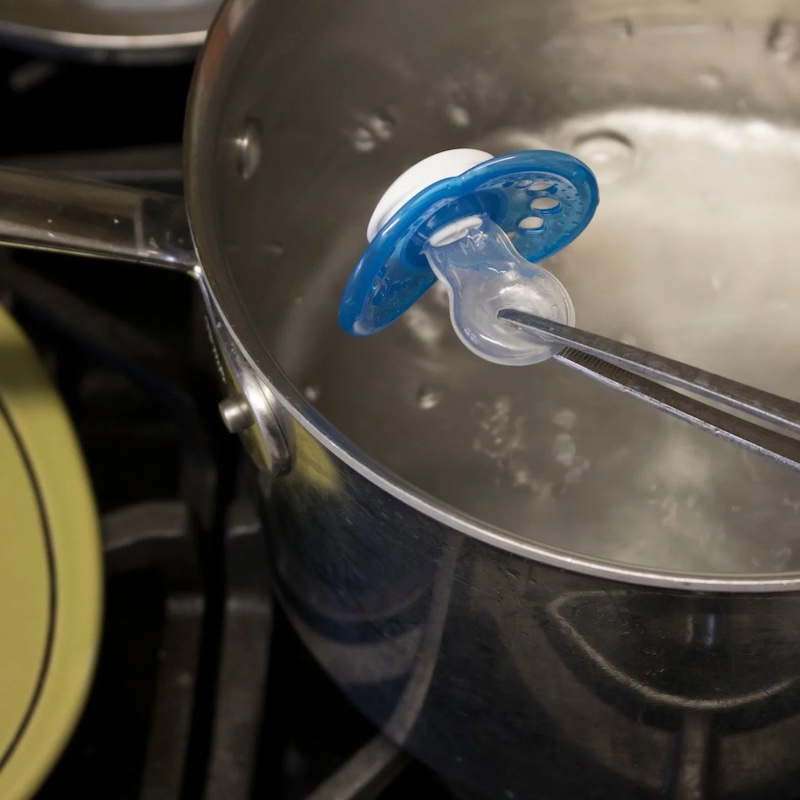
Sterilization
Boil the pacifier regularly for hygiene. This can be done weekly. Follow the manufacturer’s instructions for the correct method.
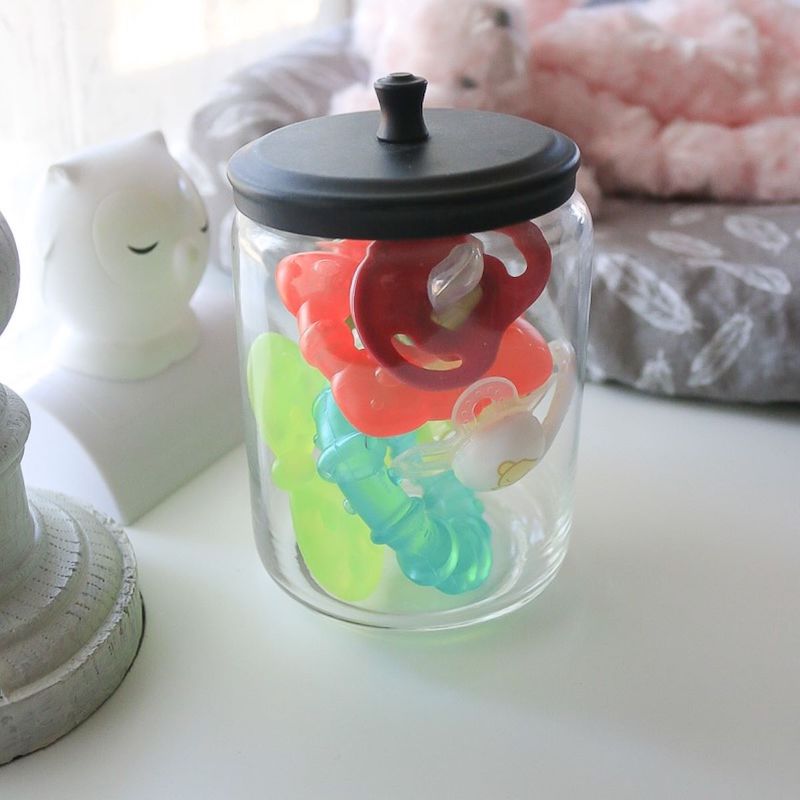
Dry Storage
After cleaning, let the pacifier air dry. Store it in a dry and clean container. This keeps away harmful bacteria.
Checking for Damage
Inspect the pacifier often for wear and tear. Look for cracks or tears in the material. Replace it immediately if damage is found.
Avoid Chemical Cleaners
Always use safe cleaning methods. Steer clear of harsh chemicals. They are not safe for your baby to ingest.
Do Not Tie to Baby’s Neck
Never attach a pacifier with a string around your baby’s neck. It poses a strangulation risk. Use a clip with a short ribbon instead.
Replacement Regularly
Swap out pacifiers often. Over time, they can degrade. A good rule is to replace pacifiers every two months.
Follow these steps for a safe and clean pacifier. It will help protect your baby’s oral health. And it will ensure the pacifier remains orthodontist approved.